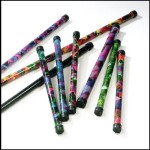
This is a series teaching how to make many of the cool sound effects instruments I use in my DrumSongStory programs. I will be updating these posts with video as well. I welcome your photos and videos, links and suggestions. These very simple … [Read more...] about How To Make Cool Sound Effects Instruments – Part 3
How To Make Cool Sound Effects Instruments – Part 2
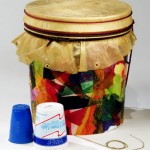
This is a series teaching how to make many of the cool sound effects instruments I use in my DrumSongStory programs. I will be updating these posts with video as well. I welcome your photos and videos, links and suggestions. These very simple … [Read more...] about How To Make Cool Sound Effects Instruments – Part 2
How To Make Cool Sound FX Instruments – Part 1
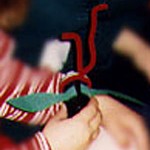
This is a series teaching how to make many of the cool sound effects instruments I use in my DrumSongStory programs. I will be updating these posts with video as well. I welcome your photos and videos, links and suggestions. These very simple … [Read more...] about How To Make Cool Sound FX Instruments – Part 1